My Post Processing Techniques!
There is nothing quite like the power of a stunning landscape or cityscape image in transporting us momentarily to a world of wonder, magic, danger, beauty…the list is almost endless. Nature enchants us. As photographers, our imaginations often swirl with ideas when we witness one of its magnificent creations.
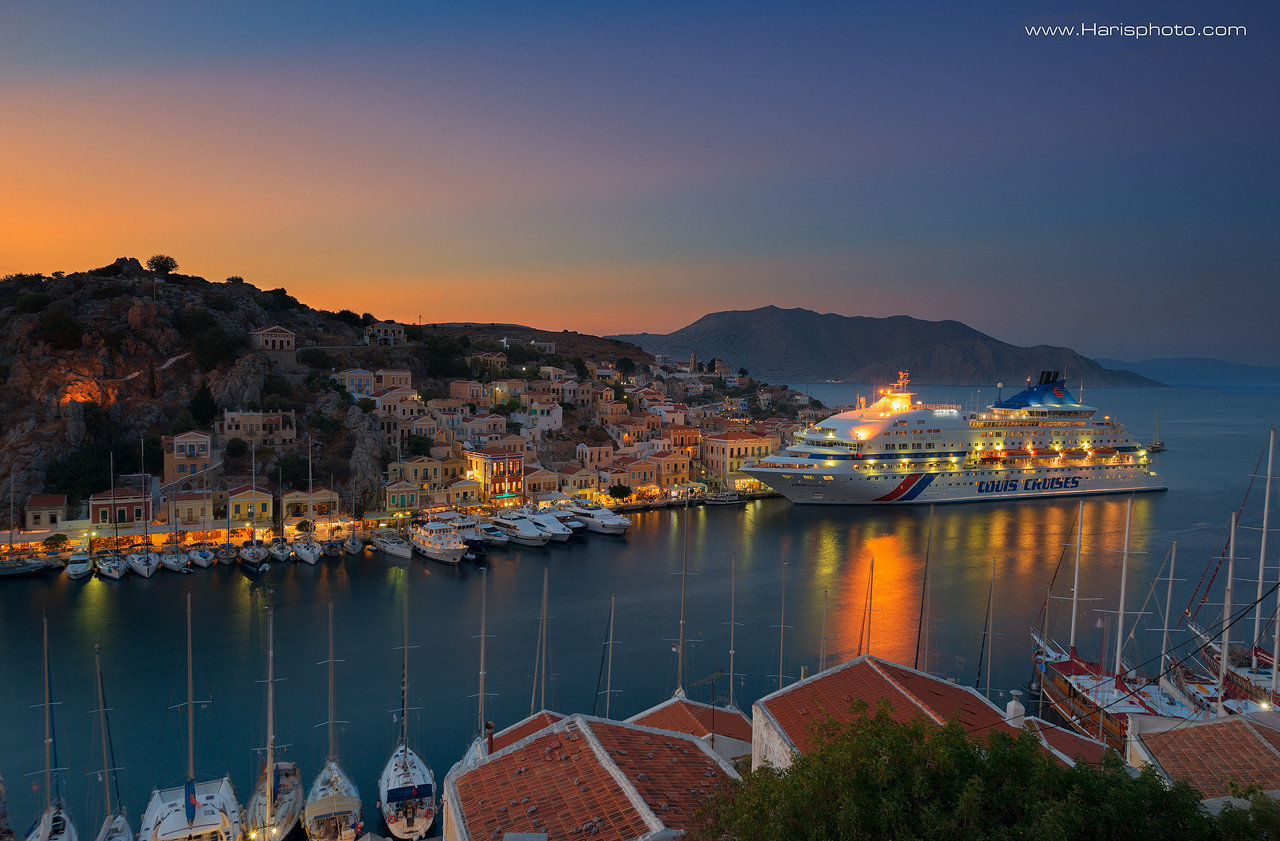
How much we choose to infuse our imaginations with nature’s true scene in our photography is a matter of personal enjoyment. In this article, I present to you my Post Processing Techniques For Landscapes & Cityscapes, some of which will help to restore the natural scene as you saw it, some will enhance that scene further, and some will push your imagery beyond that of reality.
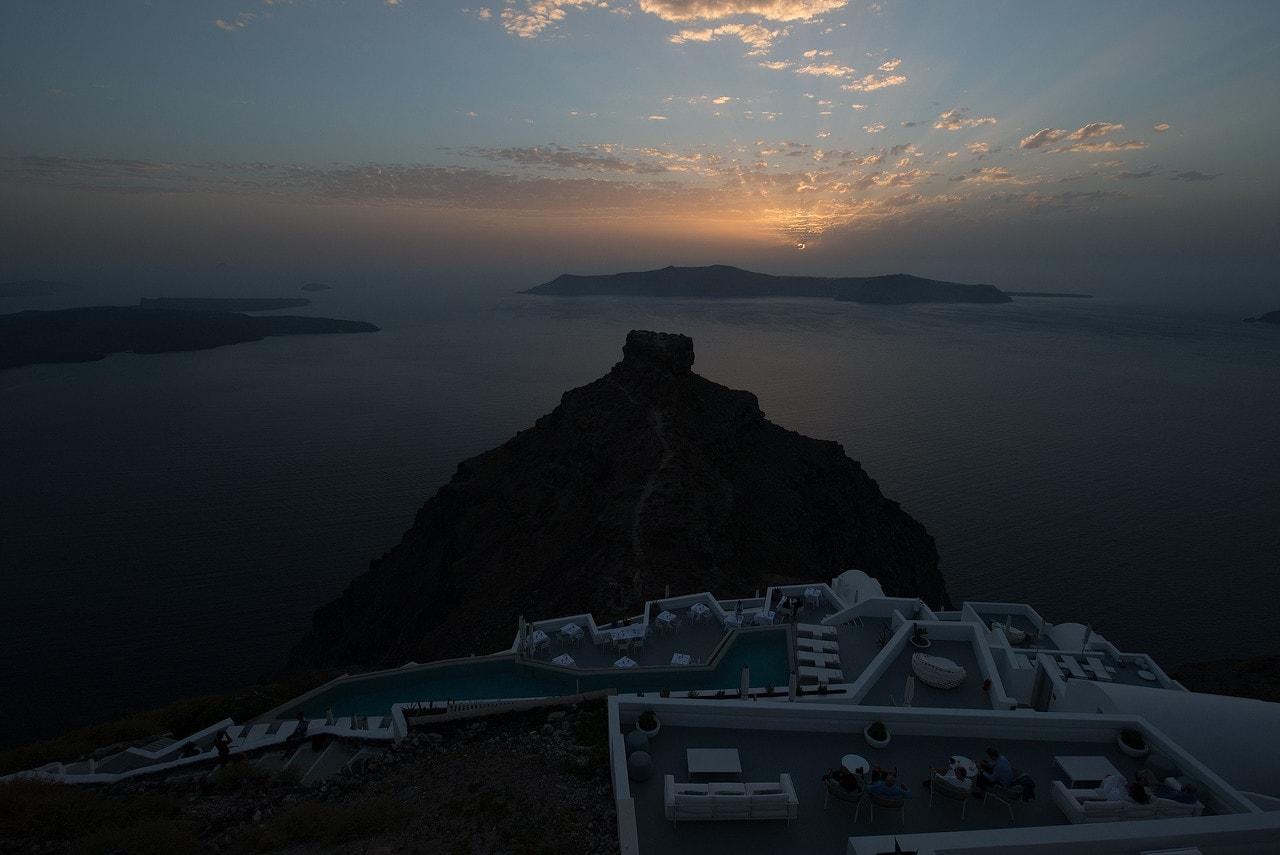
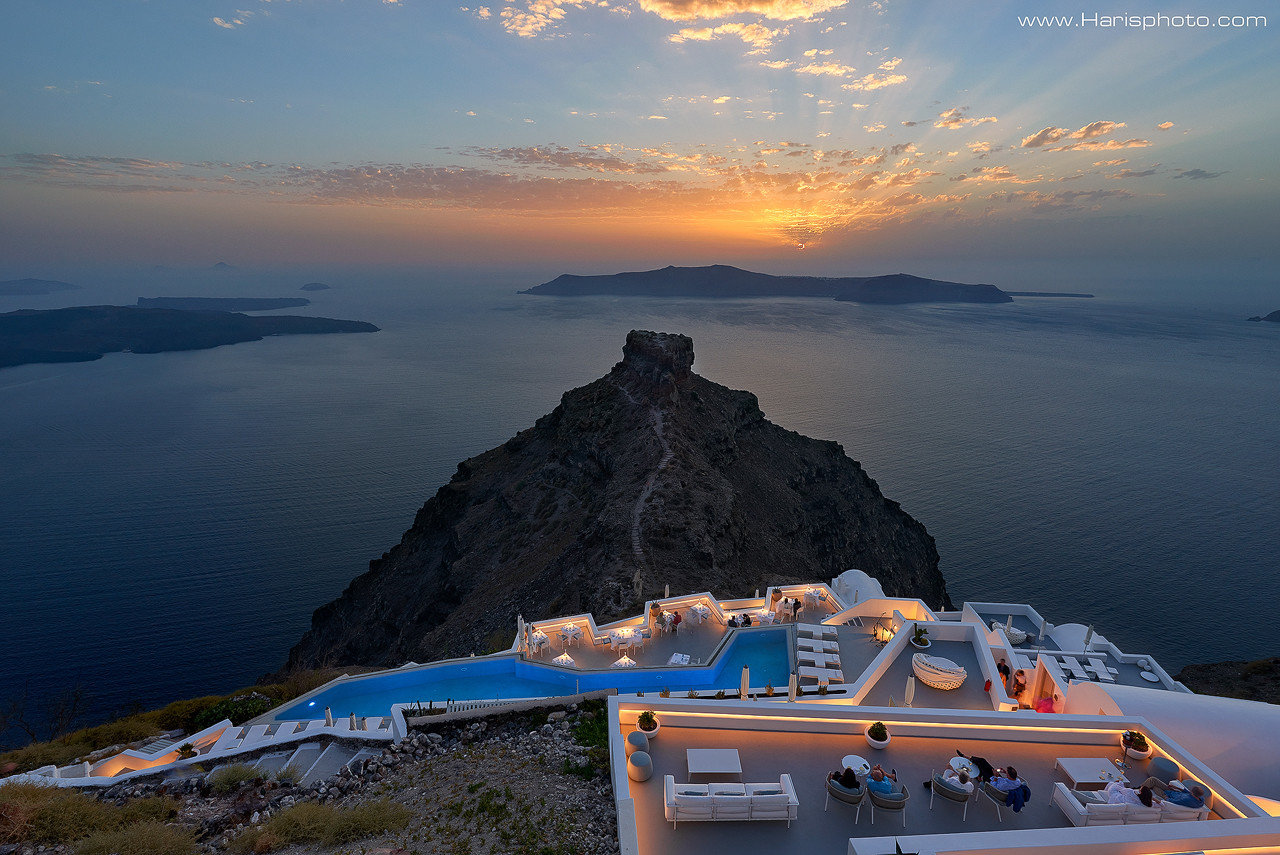
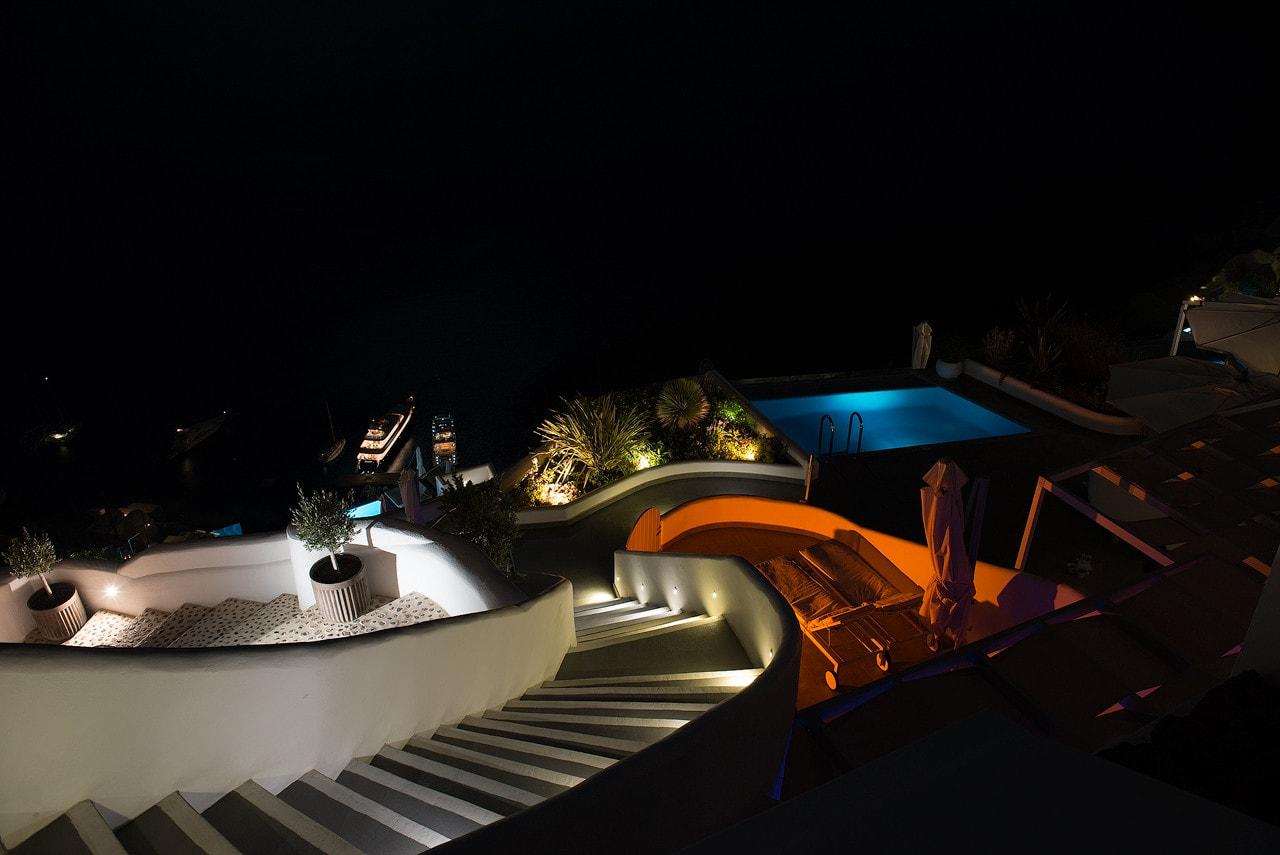
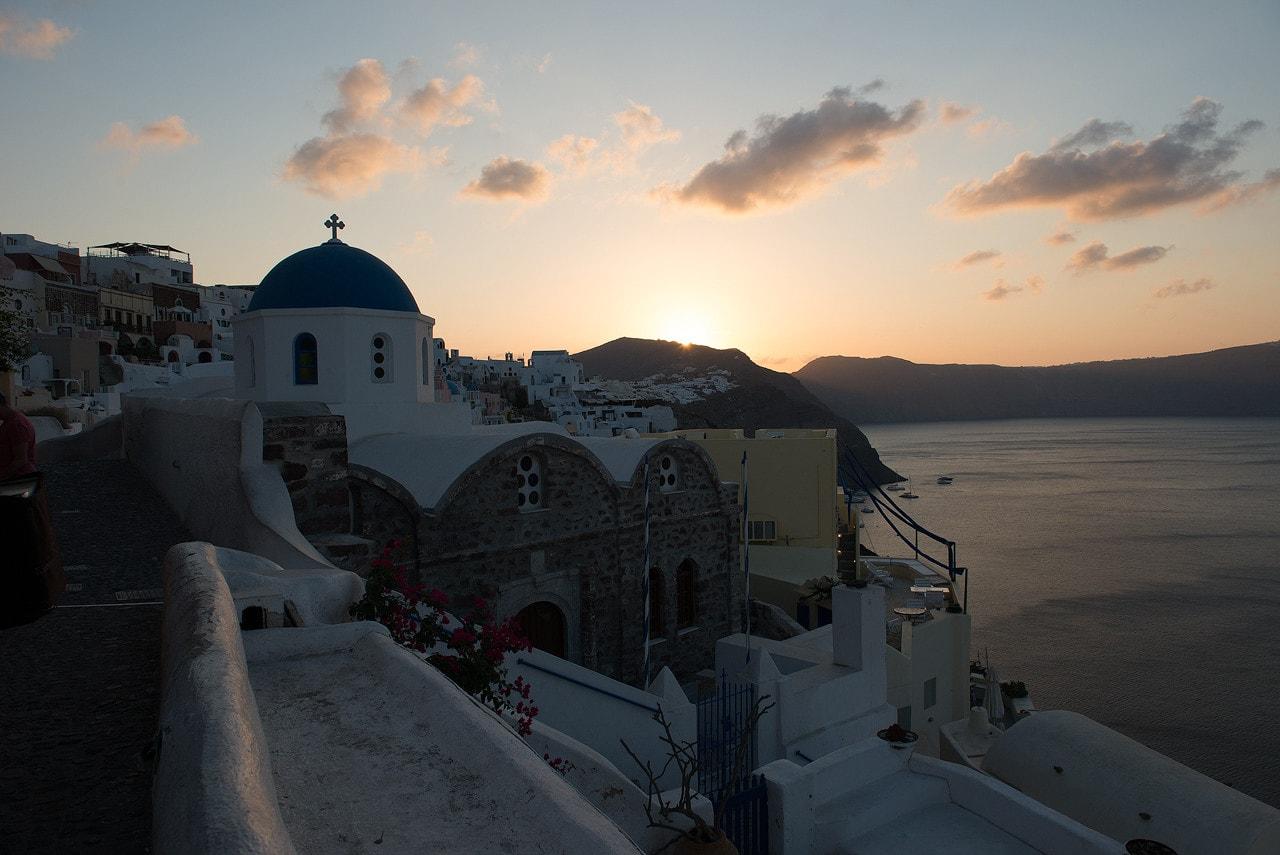
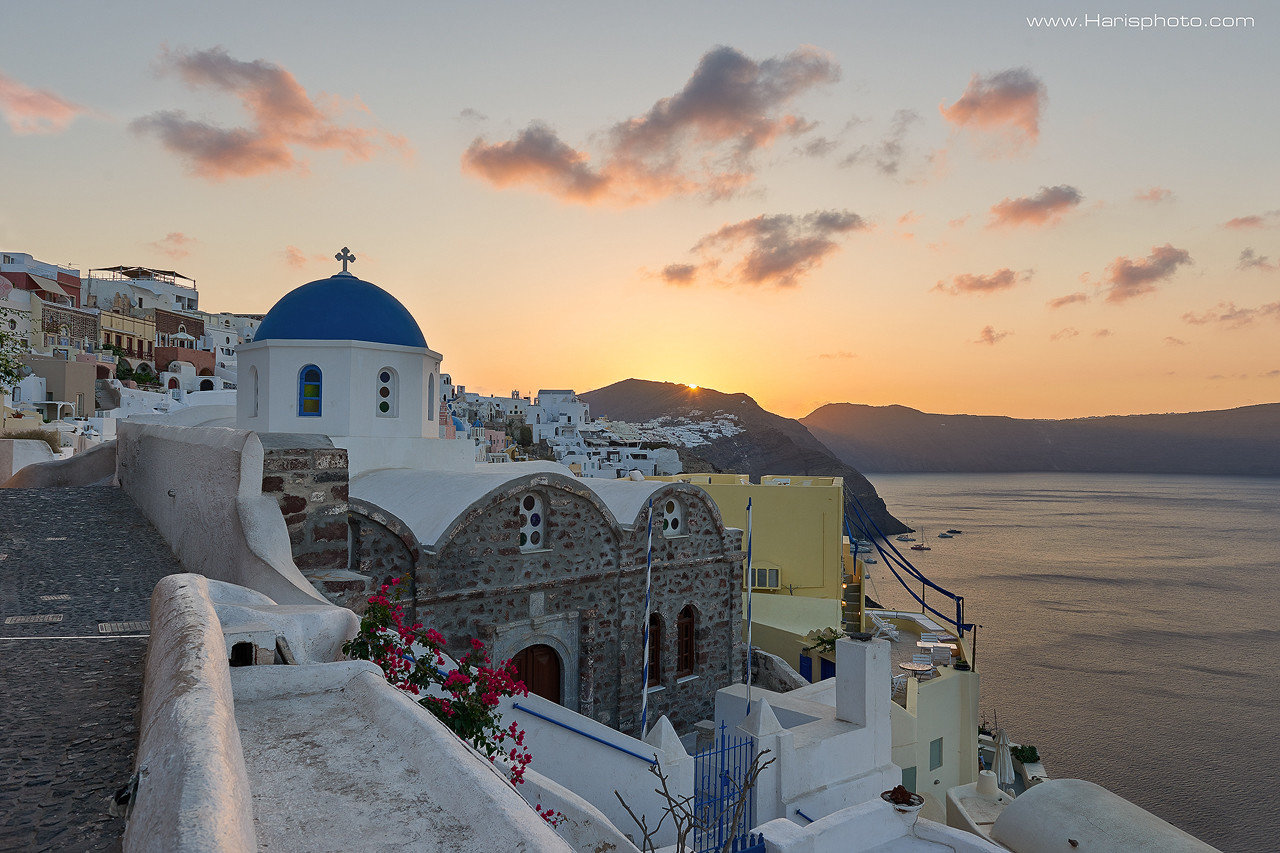
For my editing mainly i use Phase one – Capture one Pro which offers to my photos an amazing color as a RAW converter and the rest work at Adobe Photoshop.My post processing technique is digital blending and Luminosity masks, also known as Luminance Masks, are a way of making advanced selections in Photoshop based on luminosity values. For example, let’s say we are looking at a beautiful sunset shot in Photoshop. We’ve exposed for the foreground so rather typically the brightest part of the sky is over-exposed. We were smart enough, however, to take a second, darker exposure, this time exposing for the sunset. All we need to do, in theory, is smoothly blend the area of the sun into the brighter exposure where that same area is blown out. In Photoshop, there are many ways to make selections, but in this particular example, Luminosity Masks would allow us to select the over-exposed area because it targets luminosity values (i.e. the brightness of an area), and smoothly blend in the darker exposure.


